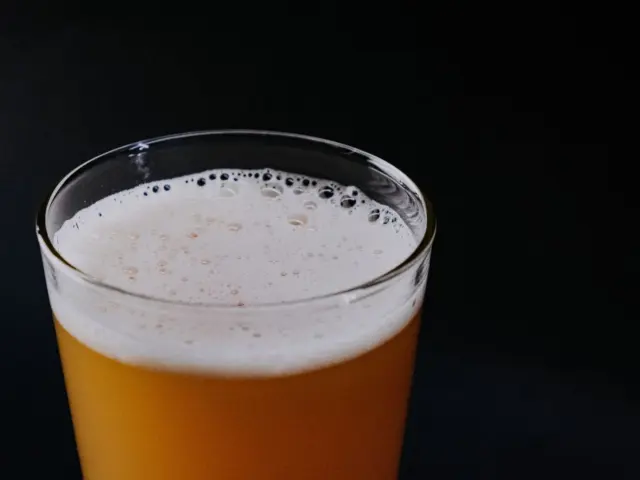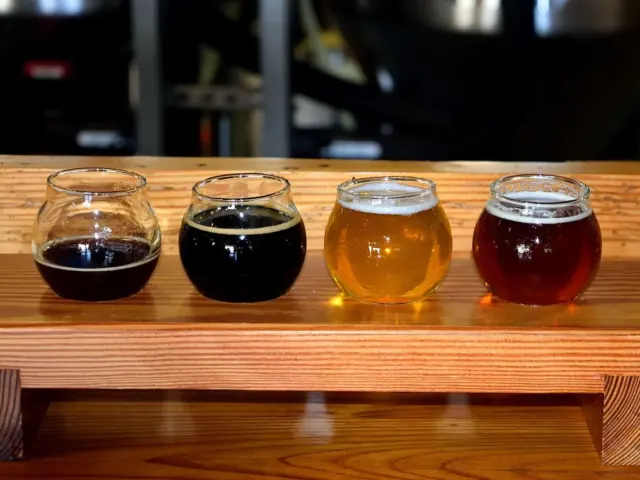
Standing over a pour and unsure what you’re supposed to notice? Here is how to taste beer: look, smell, sip, and write down what you actually sense, before you worry about style.
For the wider scene, the guide to brooklyn craft beer is a good next stop.
| Item | Value |
|---|---|
| Main areas on the BJCP scoresheet | 4 (aroma, appearance, flavor, mouthfeel) |
| Things counted as wrong when you record perceptions | 3 |
| Times you smell the beer in the BJCP procedure | 2 (before and after looking at it) |
| When to open the style guide | After you have recorded what you perceive |
The figures come from the Beer Judge Certification Program beginner course page, which is written for judging and exam practice. Course pages can change or be reorganised, so check the source before you rely on them.
Start with what you sense, not the style
Most people freeze at the first question: what style is this? The BJCP’s beginner lesson answers that the style doesn’t matter, at least at first, because knowing it does not change what you smell, see, taste or feel.
That lesson is aimed at people judging beer in competitions and exams, but the habit works just as well at a bar or at your kitchen table. You are not trying to pass a test. You are trying to notice more than you did yesterday.
The BJCP lesson splits what you perceive into four main areas. Keep these in mind and you always have somewhere to start:
- Aroma: what you smell.
- Appearance: what you see.
- Flavor: what you taste.
- Mouthfeel: what you feel in your mouth, including the body of the beer.
The instruction for all of them is the same: record what you perceive, in your own words. If you say it tastes like grapefruit, you write grapefruit.
Get set up before the first sip
A little preparation makes the tasting calmer. The BJCP procedure starts with a score sheet and says to fill in everything you can before you judge the beer. At home, that can be a notebook or a note on your phone with the four headings written out.
If you are holding a bottle, look at it before you pour. The lesson says to check the bottle for fill level, clarity, sediment and signs of problems.
Reading the printed details first can also give you something to compare against later. A guide on how to read a beer label is a useful companion if the wording on the bottle is unfamiliar.
Then use a clean glass. The lesson says to pour into a clean sampling cup in a manner that will generate a head, so don’t be shy about pouring with a little energy rather than sliding the beer gently down the side.
Look, smell, sip: the order to follow
The BJCP course lays out a fixed order for evaluating a beer. Here is the part that matters for a casual taster, in sequence:
- Pour the beer into a clean glass so that it forms a head.
- Smell the beer.
- Look at the beer.
- Smell the beer again.
- Taste the beer.
- Think about body, which the lesson also calls mouthfeel.
- Form an overall impression.
- Review what you wrote, and only then bring in the style.
Notice that the procedure has you smell twice, once before and once after you look at the beer. That second pass gives you a chance to catch something you missed the first time, or to confirm a hunch.
Take your time at each step. Smelling and looking cost nothing, and they give you a head start on the flavors you are about to meet.
What to write down at each step
Aroma and appearance
Aroma comes first, and your notes can be short and plain. Write the first thing that comes to mind, whether that is fruit, bread, spice or something you can’t place.
If you sense that something is there but can’t put your finger on it, the lesson says to write exactly that. A vague note is more honest, and more useful, than a confident guess.
Absence counts too. The lesson points out that “no hop aroma apparent” is a valid comment, appropriate for some styles and a flaw in others. For appearance, jot down what you see in the glass before the head fades.
Flavor and mouthfeel
When you sip, describe the flavor in everyday words, and then move on to mouthfeel. Is the beer light or heavy in your mouth? Does it feel smooth, sharp or sticky? There are no wrong adjectives, only ones that help you remember the beer.
The lesson names three ways to go wrong, and all of them are about honesty rather than skill:
- Saying you perceived something that you didn’t.
- Saying you didn’t perceive something that you actually did.
- Saying nothing about what you perceive or don’t perceive.
Everything else is fair game, so write freely.
Why your palate may differ from your friend’s
You and the person next to you may not taste the same things, and that is normal. The BJCP lesson puts it plainly: all of our palates are different, with different flavor thresholds for each flavor.
If a friend finds a flavor you can’t, you didn’t taste it, and that is all there is to it. The lesson’s advice is to write it down as it is, and not to worry.
This makes a good argument for tasting with others. Compare notes after you have each written your own, and you will learn how different two honest descriptions of one beer can be.
Bring the style in afterwards
Once your perceptions are on paper, the style finally becomes useful. The lesson says you can now review your notes and see whether knowledge of the style helps you recognise something you couldn’t place.
Then you can ask whether anything you noticed is a flaw for that type of beer. The same note can be a fault in one style and perfectly right in another, which is why the lesson holds the style back until the end.
There is a practical reason for the order. The lesson warns against going back and forth between the style guide and the beer, checking each aroma or flavor against the description as you go. Writing first keeps the beer, not the guidebook, in charge.
Finish with your overall impression. The lesson says that whether the beer matched its style, or was “off” and how, goes in the overall impression section.
Practice with a few beers
The lesson’s first exercise is simple: grab a beer and a clean glass, ideally a beer where you know the style it should be. Put the style guide away, record what you sense, and only then open the guide to see whether its description helps you find better words for what you noticed.
After that, it suggests repeating the exercise with a couple more beers. Tasting a few in a row builds your vocabulary faster than studying one.
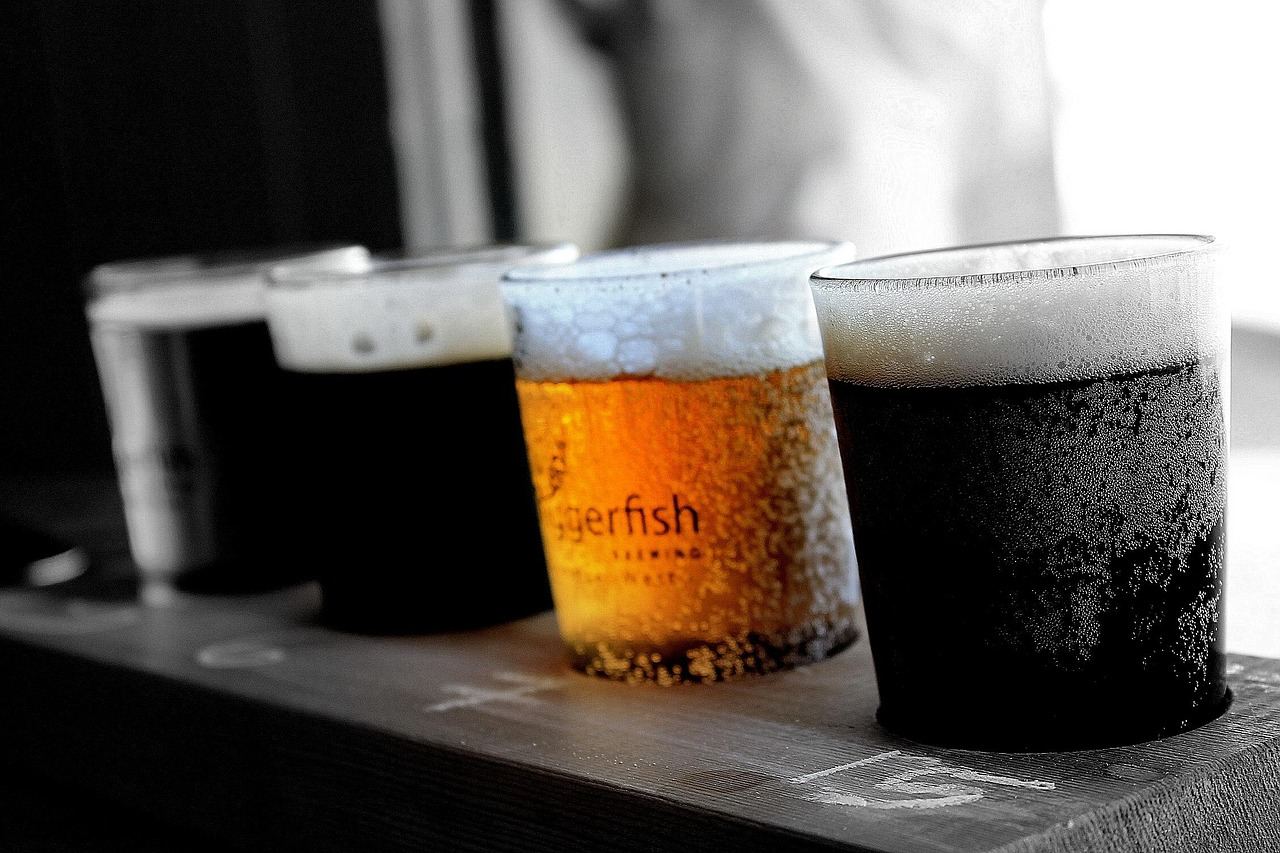
If you like the idea of comparing several beers side by side, the page on beer flight what is it explains the format. Keep your notes short, keep them honest, and compare them at the end.
Frequently asked questions
Do I need to know the beer style before I taste?
Show answer
No. The BJCP beginner lesson says the style doesn’t matter at first, because it doesn’t change what you smell, see, taste or feel. Record your perceptions, then check the style.
What if I can tell something is there but can’t name it?
Show answer
Write that down. The lesson says that if you sense something but can’t put your finger on it, you should say so, and you can revisit it later once you have read the style description.
What if I can’t taste something my friend can?
Show answer
That is normal. The lesson notes that palates differ and that each of us has different flavor thresholds, so simply record that you didn’t taste it.
How many times should I smell the beer?
Show answer
The BJCP procedure has you smell the beer, look at it, and then smell it again before you taste. That makes two smells.
Where do I note that a beer seems off?
Show answer
After you have recorded your perceptions and considered the style, the lesson says the verdict goes in the overall impression section, including whether the beer matched its style or was off and how.